
Paintings
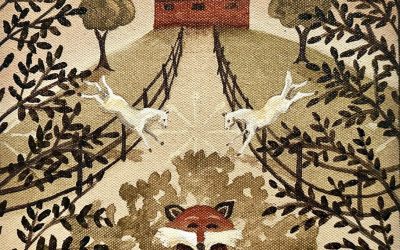
From fox hunting scenes to coastal villages to historic farm countrysides, Lisa Curry Mair’s warm color palette and thoughtful compositions lead the eye into another place and time. Meticulously painted on canvas, in a style reminiscent of 19th century imagery.
Murals
Custom murals, hand painted on canvas, showcase beautiful historic country scenes and transport you back in time, to a more peaceful era. Wrapping around the viewer, these paintings are suitable for a front entry, dining room or anywhere in your home where you want to bring a special landscape indoors.
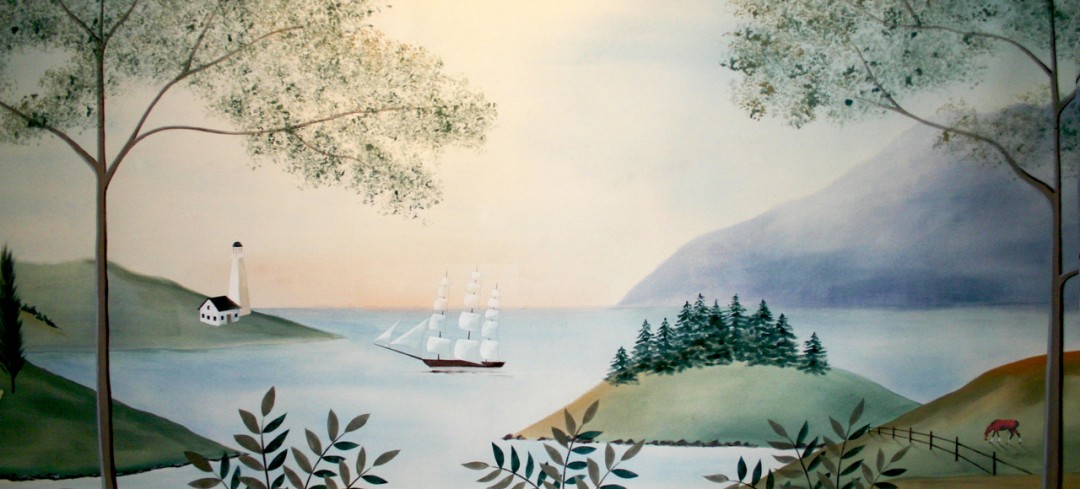
Murals
Custom murals, hand painted on canvas, showcase beautiful historic New England scenes, or fox hunting scenes or rural scenes in your front hallway, dining room or anywhere in your home. These paintings wrap around the room and transport you back in time, to a more peaceful era.
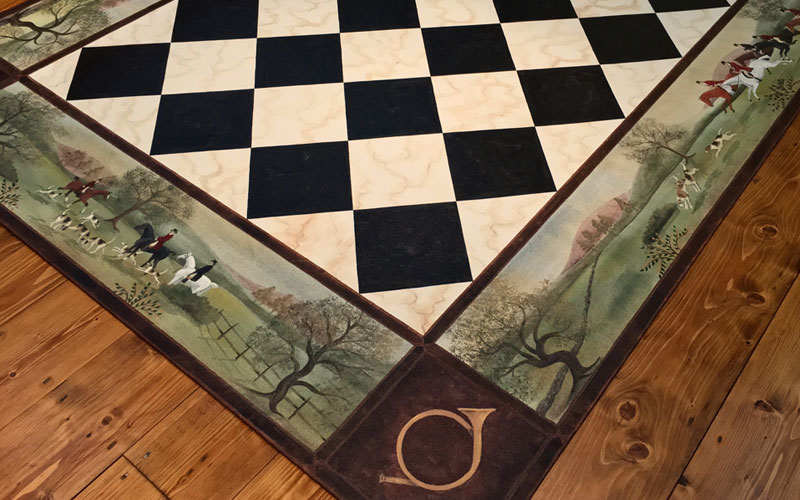
Floorcloths
After 30 years of creating thousands of floorcloths for homes, museums and do-it-yourselfers, Lisa Curry Mair is turning her attention solely to fine art paintings and scenic wall canvases (murals). There will be occasional floorcloth classes available. Please check out the “Classes” tab for more info.
From a studio on the 18th century Henry Gould Farm in Perkinsville, Vermont, artist Lisa Curry Mair creates custom murals, paintings and floorcloths, meticulously painted on canvas. Painting in a folk-art style reminiscent of 19th century mural painter Rufus Porter, her murals and paintings are designed in consultation with the home owner and embellished with personal touches – houses, local landmarks, as well as people and animals special to the client.
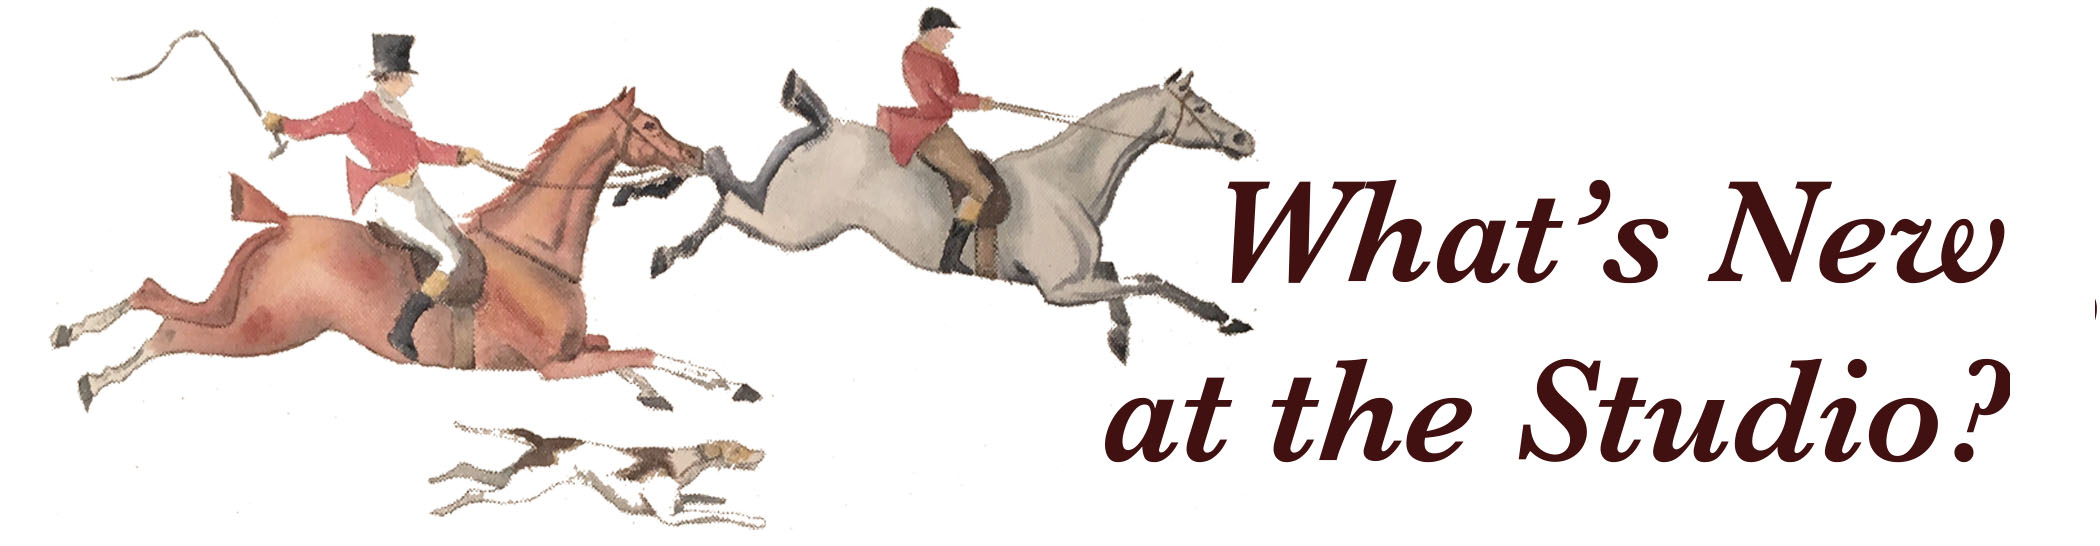
Daily Horse Paintings Week 3
These are the daily horse paintings I did the week of Jan 24-30, 2024. Contact the studio if you'd like to know more about any of them. Which is your favorite? Please feel free to comment below! Click on any image to see the full photo.
Leaning In and Letting Go
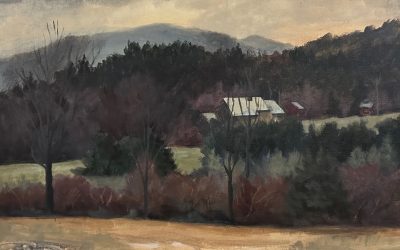
Strange Winter acrylic on canvas 20" x 16" available As winter rolls in I find myself wanting to paint with abandon. I spent so many years "staying inside the lines", now I just want to splash and play! This is my view across the marsh to my neighbors' home and Hawk...
2023 Artistic Recap
Yesterday I flipped through all the photos of my work from 2023 and I picked out 50 of my favorites.